Deals in Selly are made up of multiple deal stages. You can think of these stages as different steps in your sales pipeline. Your dealership may, for example, have five total stages in your pipeline: Test Drive, Negotiation, Finance, Sold, and Lost. The first three stages are known as In-Progress stages, and the Sold and Lost stages indicate that the deal is either “Sold” or “Lost”. Knowing the stage of a deal allows you to better approach the deal. You can also set up automated tasks (Work Plan tasks) that are triggered whenever a deal reaches a certain deal stage. If you have a Manager-type user account, you may customize your sales pipeline to best fit your management style.
Default deal stages
Your Selly account will come with set of default stages:
-
Test Drive (In-progress)
-
Negotiation (In-progress)
-
F&I (In-progress)
-
Closed won (Sold)
-
Closed lost (Lost)
You may use these stages as is, or you may customize the stages to best-fit your sales pipeline. Learn how to do so below.
Customizing your deal stages
You may customize your dealership’s in-progress deal stages. In order to do this:
-
You must have a Manager-type account.
-
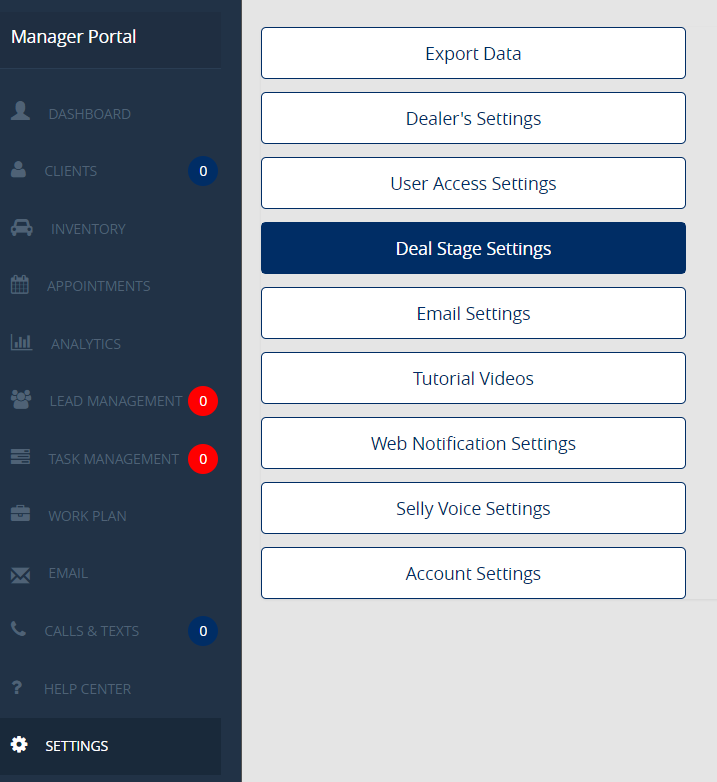
Navigate to Settings on the left-side navigation menu.
-
Click on the Deal Stage Settings option.
-
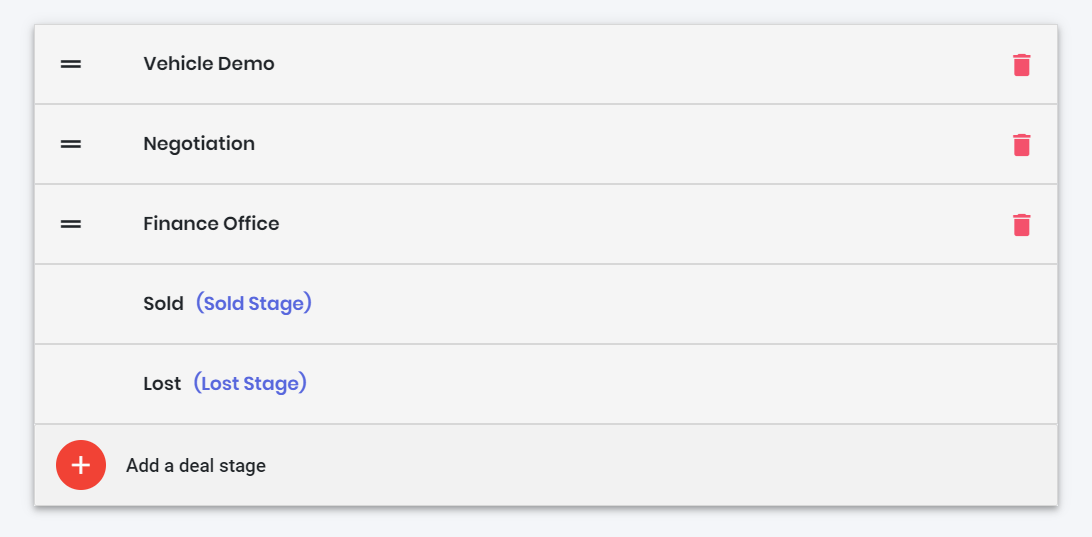
You’ll arrive on the Deal Stage Settings page.
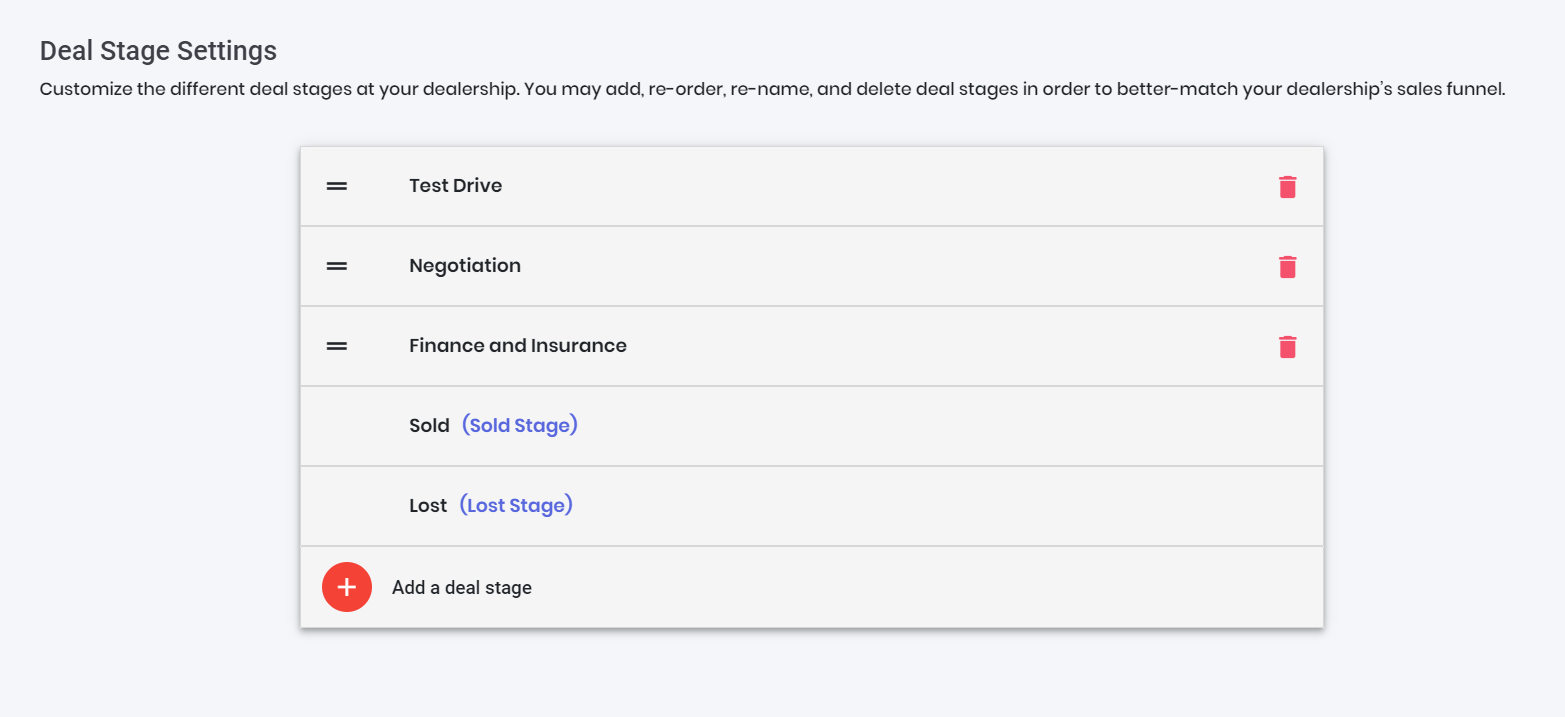
From this page you may perform the following actions:
-
Add new stages
-
Delete stages you no longer need
-
Rearrange the order of the in-progress stages
-
Rename any of your stages
Adding a new stage
-
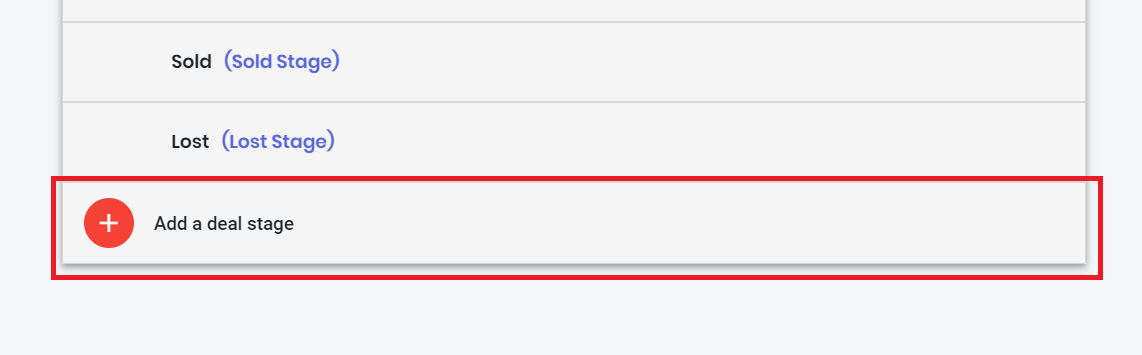
On the Deal Stage Settings page, click Add a deal stage near the bottom of the deal stage list.
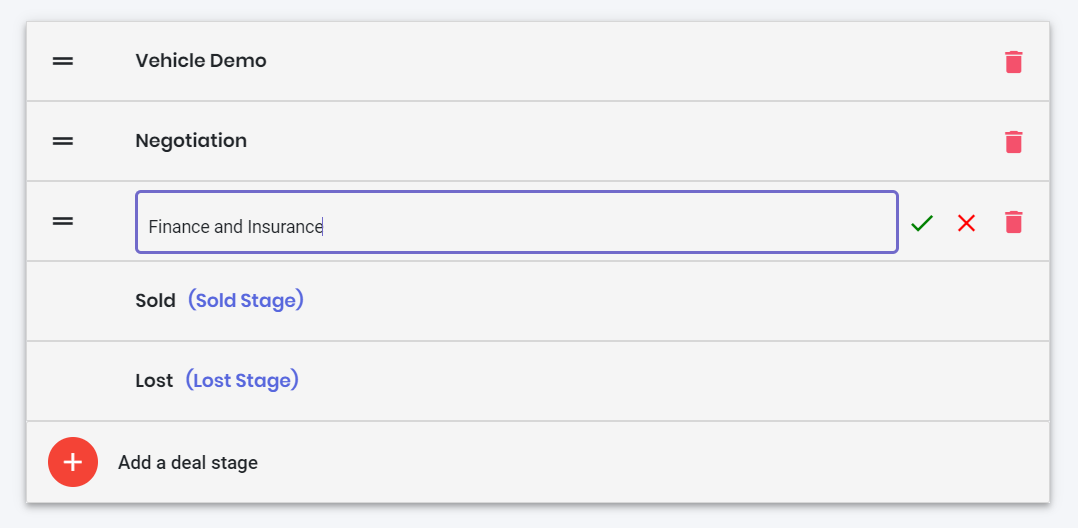
-
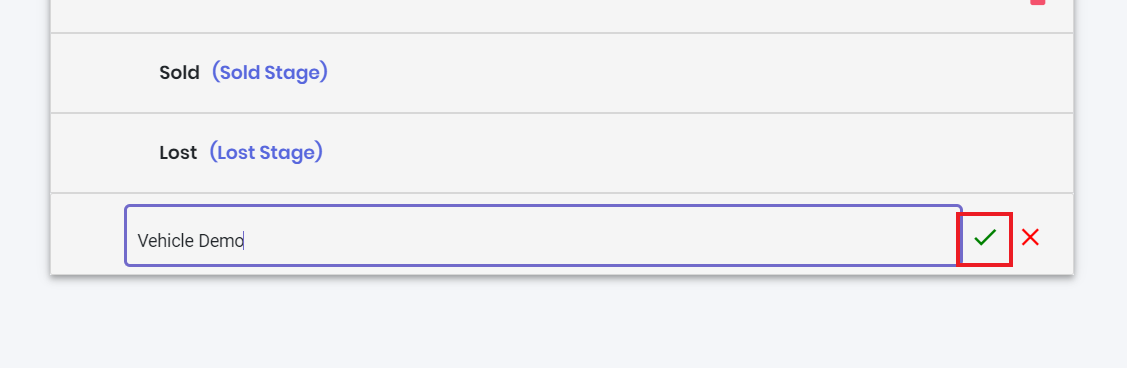
Enter the name of the new deal stage, and then either press the Enter on your keyboard, or click on the green check mark to the right of the deal stage.
-
The new stage will be saved, and it will be placed above the Sold Stage. You may now re-order the stage, if you wish to do so.
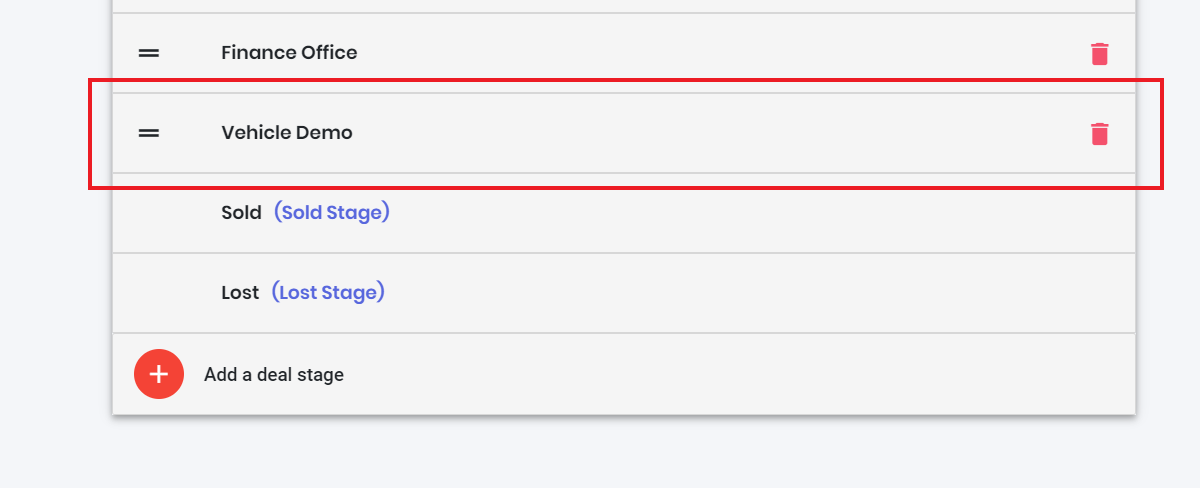
Rearranging the stages
You may need to rearrange the order of the stages, and this is possible by dragging a stage to the desired location. (Note: you may only re-order in-progress stages.)
-
Notice the two horizontal lines to the left of the stage names. You may click, hold, and drag the stage to a different stage location.
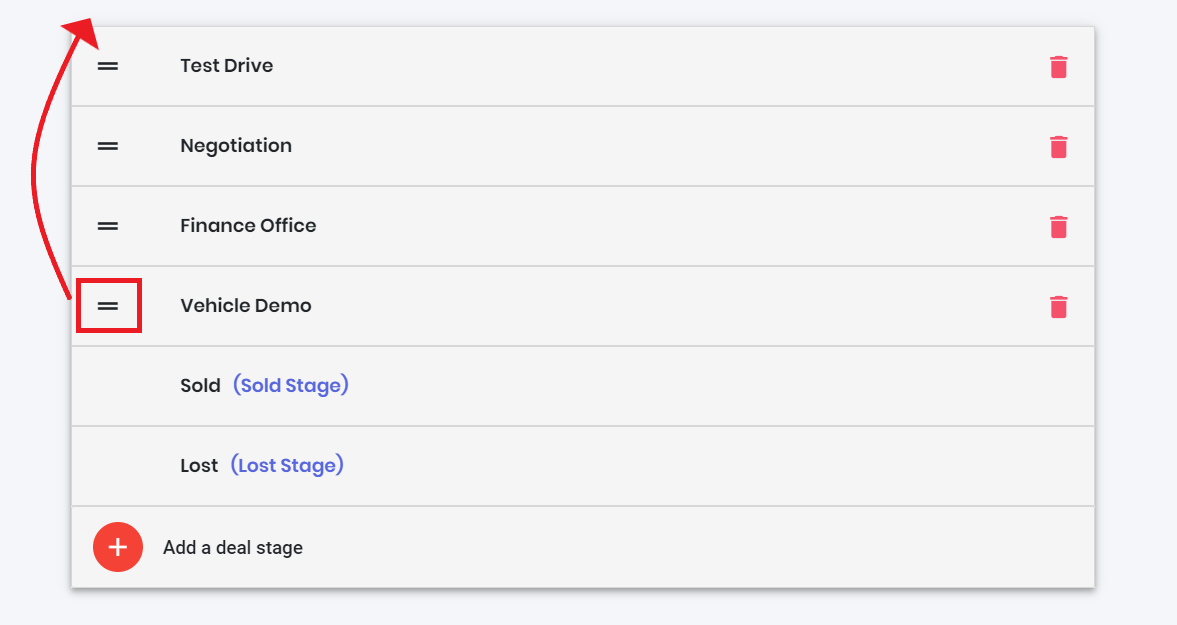
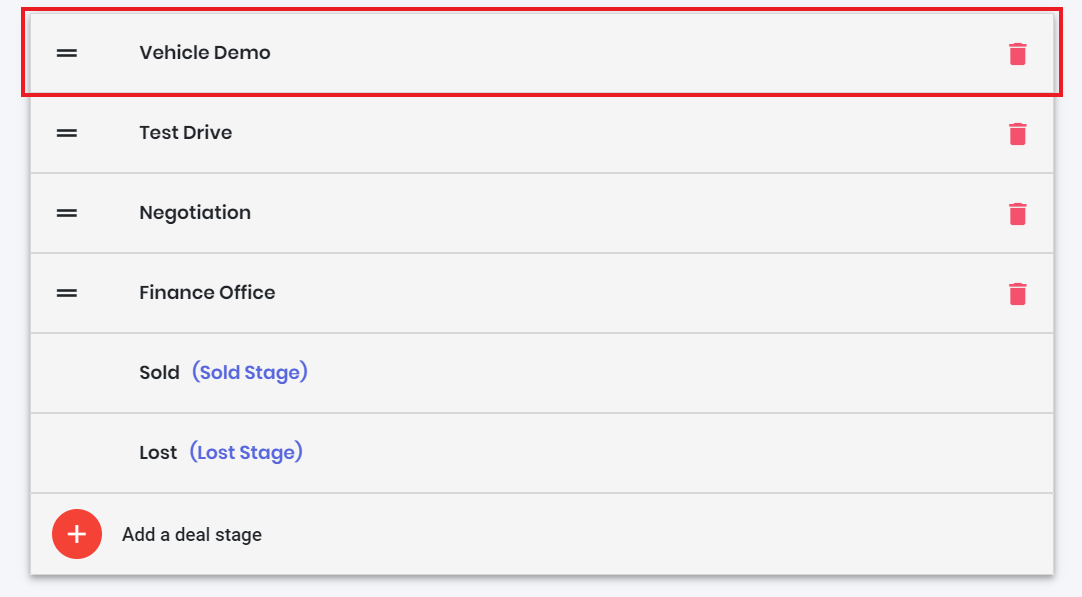
-
Your stage will be saved in the desired location.
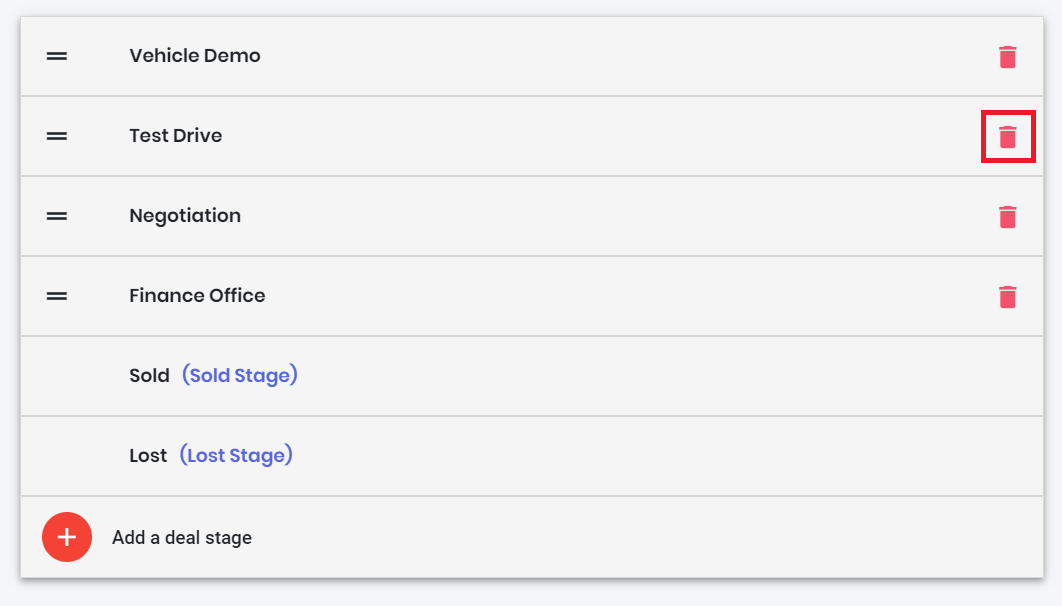
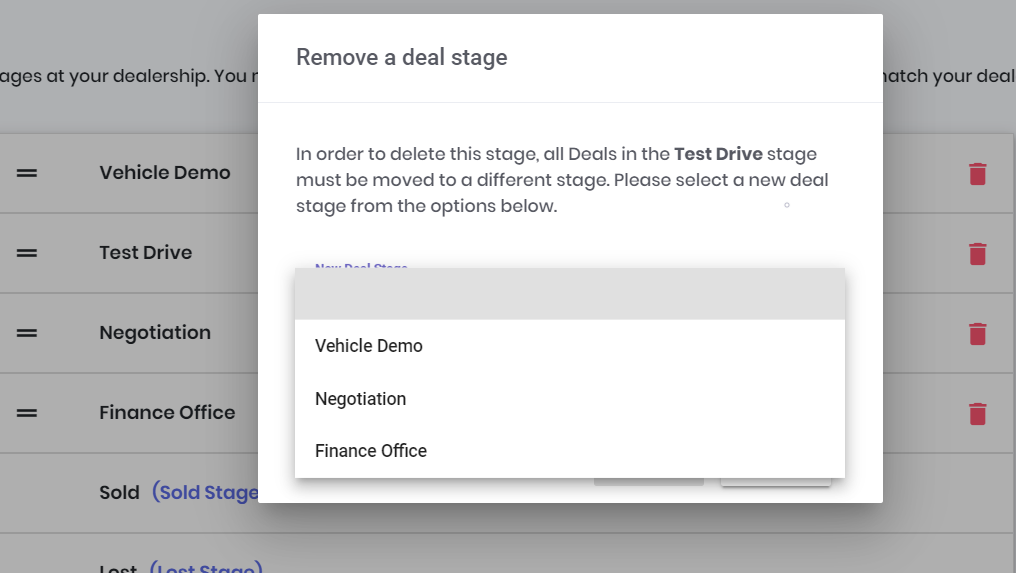
Deleting a stage
When you delete a stage, you’ll be prompted to move any existing deals in this stage to a different stage.
-
To delete a stage, click on the red trash icon to the right of the stage.
-
You’ll be prompted to move all existing deals in this stage to a different stage of your choosing, so select a different in-progress stage from the drop-down menu. (Note: Work Plan Tasks for all Deals associated with the deleted stage will also be deleted, and all moved Deals will now follow the Work Plan Tasks of the new stage.)
-
You’ll see that the stage is now deleted.
Renaming a stage
It’s easy to edit the name of your stage. Click on the desired stage, and change the name to anything you desire.
-
Click on the stage you’d like to rename, and enter the new stage name. When finished, either press Enter on your keyboard, or click on the green check mark. You’ll see that the name of the stage is now updated.
0 Comments