Connect ADF/XML (automotive) integration
- In your LeadsBridge account, over to the left sidebar click on Integrations
- Click on the Add New button
- Enter a recognizable name for your integration (ie. Facebook Market Place Ad)
- Click on the Browse button
- Select "ADF/XML (automotive)" from the list of providers
- Click on the Next button
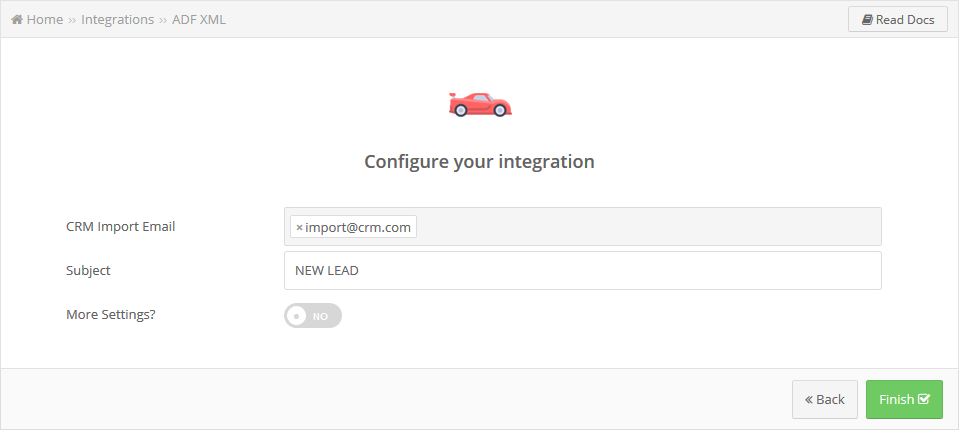
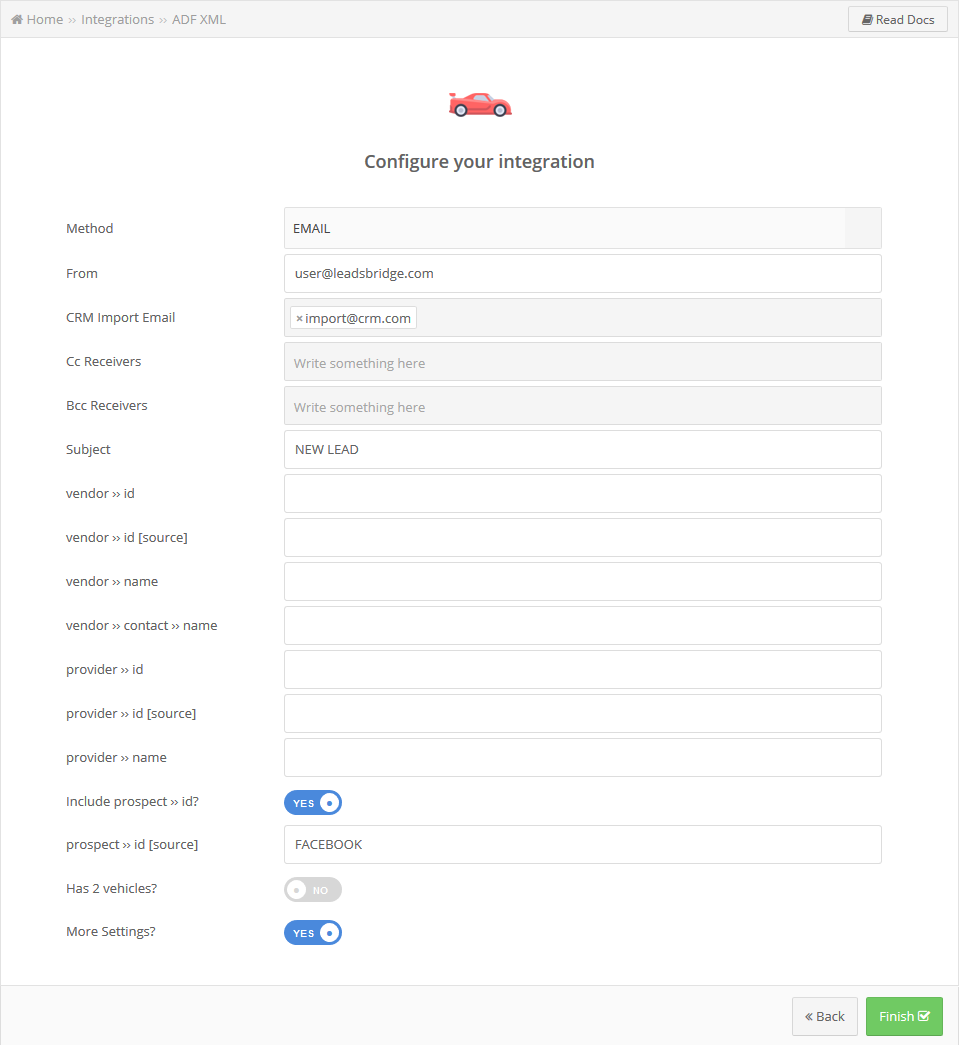
- Enter your Selly XML/ADF Lead Email Address into the "CRM Import Email" field
- Click on the Finish button
Configure Field Mapping
Here's a simple example of the ADF specification used by Selly Automotive which will push a customers name, email address, phone number and any comments made by the customer:
<?xml version="1.0"?>
<?adf version="1.0"?>
<adf>
<prospect>
<customer>
<contact>
<email>selly@test.com</email>
<name part="first">Selly</name>
<name part="last">Test</name>
<phone>
</contact>
<comments>I'm interested in the 2010 focus, I'd like to test drive on Friday at 3pm</comments>
</customer>
<provider>
<name part="full">Selly Test Notification</name>
</provider>
<requestdate></requestdate>
</prospect>
</adf>
Test
In this final step, you'll be able to send a lead from LeadsBridge to test if the configuration works properly.
- To create a new test lead, fill in the required information when prompted
- Click Test Now
- To test with a real lead, switch the toggle to "Test with existing lead".
- Click Sync Now along with the lead you'd like to send
- If you did everything right the button will turn green, meaning your lead was synced successfully and the integration is ready
- Click Finish to save your settings and make your bridge active.

it’s possible to send a test lead from your Bridge (1). Once tested, it’s necessary to check the suggested agreements (2) and then click on the “Publish” button.


0 Comments