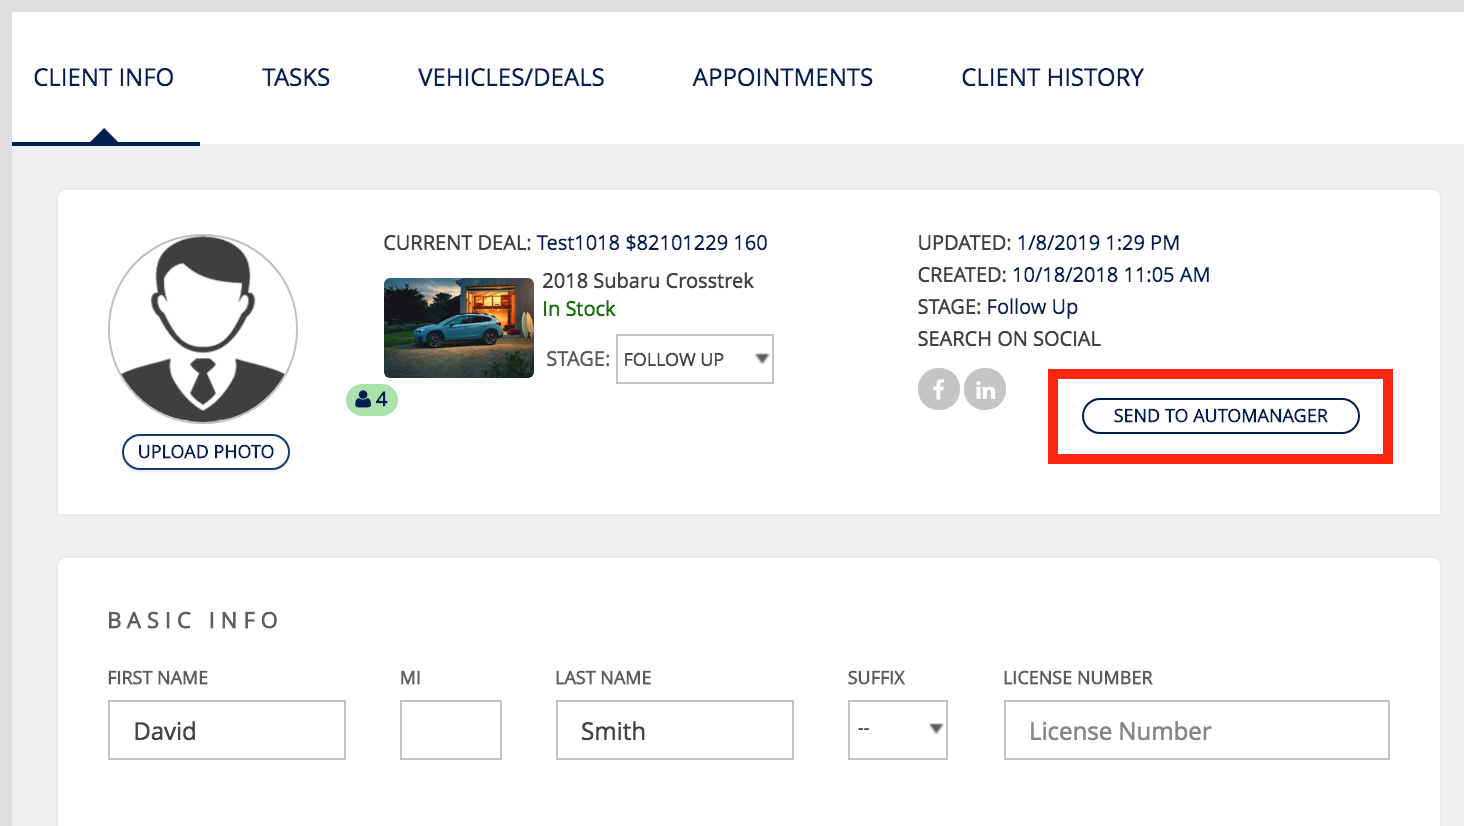
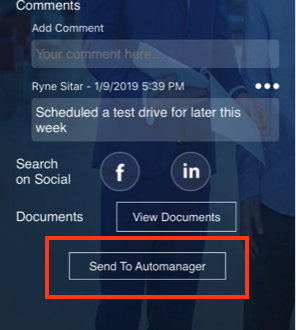
All Automanger-integrated Selly dealers have access to a "Send to Automanager" button on every Client profile. This button, when clicked, sends the information of a specified Client to DeskManager, along with any Vehicles that are associated with In-progress deals in Selly. This functionality streamlines a Selly-Automanager User's experience when creating and desking deals in DeskManager, and eliminates the need to enter Client Information twice in Selly and Automanager.
Data sent over to Automanager
The following data is sent over to DeskManager whenever a User clicks on the Send To Automanager button:
- Client data, including:
- Driver's License Number
- Full Name (including Middle Initial and Suffix)
- Full Address
- Cell Phone
- Home Phone
- Birthdate
- Source
- Stock Numbers of all vehicles associated with In-progress deals for the Client
Basic Workflow
Here's the recommended workflow for the Send to Automanager button:
- In Selly, go to the Clients module and search for a Client that you want to send over to DeskManager.
- On the Client's profile, make sure that all desired Client data is added, and if you want to send a specific vehicle over to DeskManager, make sure that there is an in-progress Deal with the given vehicle associated with the Client (for example, if you want to send over a vehicle with Stock Number 1000, make sure you create an in-progress Selly deal, and associate the desired vehicle with the deal).
- Click on the Send to Automanager button. The Client's data will now be sent over to your Automanager account.
- In order to import the Selly Client and create a deal in DeskManager, go into your DeskManager account, and either create a new Deal, or go to an existing Deal that you'd like to have the Selly Client entered as the Customer. Now click on the Customer tab.
- On the Customer tab, click on the Prospect List button, and when the new window opens, click on the Import tab.
- Towards the bottom of the Import tab, you'll see a As Of date selector. Select the date from which you would like to import Clients from (if you want to import a Client that you've sent over to Automanager on the present day, then simply select today's date. This will prevent a large list of previous clients from populating in the Import window).
- Click on the Download Contacts button. A list of Clients that were sent from Selly will be populated in the list. You may now select which Selly Client you want to associate with the deal in DeskManager. After selecting the Client, click on the Select button located on the top right of the screen.
- The Client is now successfully imported into DeskManager.
- You'll notice that when you go back to the Deal page, the Client's information will be automatically populated in the Customer tab.
- If the Client you sent to DeskManager from Selly also had an in-progress deal, then the Stock number of the vehicle will also be present in the Stock# field of the Deal.
0 Comments